Five Common Mistakes in Using Tile Leveling Systems and Solutions Views: 0 Author: Site Editor Publish Time: 2025-05-20 Origin: Site
Five Common Mistakes in Using Tile Leveling Systems and Solutions
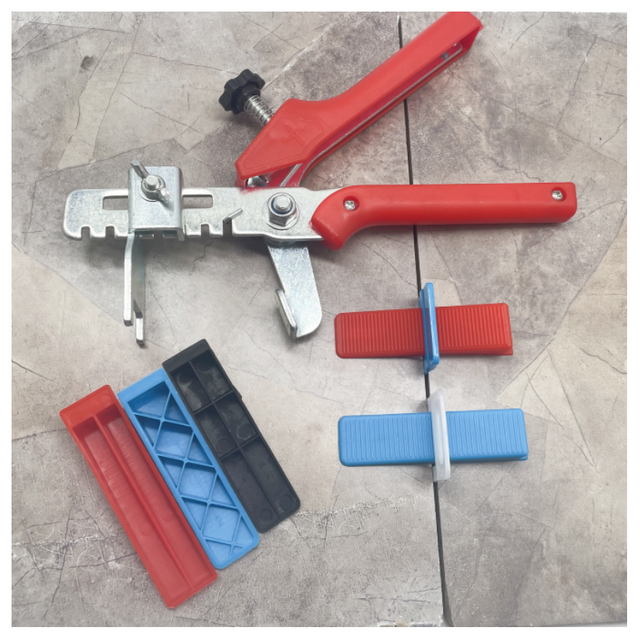
I. Improper Tool Selection
Using Low-Quality Levelers
Poor-quality plastic or steel-pin levelers may cause tile edge chipping or scratches, while rusty metal components can stain grout lines.
Solution: Opt for professional-grade levelers made of aviation aluminum (thickness ≥1.2mm) or nylon snap-fit designs.
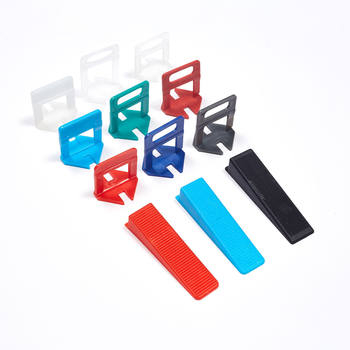
Incorrect Spacer Size Selection
Oversized spacers (e.g., 2.5mm) make grout lines difficult to conceal, disrupting visual harmony.
Recommendation: Use 1.5-2mm spacers for standard tiles and 2-3mm for large-format tiles (≥600×1200mm).
II. Inadequate Pre-Installation Preparation
Neglecting Substrate Leveling
Uneven walls increase tile stress concentration, raising hollow tile risks by ≥30%.
Critical Step: Pre-level substrates with cement mortar to ensure ≤3mm/2m flatness.
Failure to Pre-Soak Tiles
Dry tiles absorb moisture from mortar, leading to hollow spots and leveler displacement.
Standard Protocol: Soak tiles with >0.5% water absorption for 2-3 hours until bubbles cease.
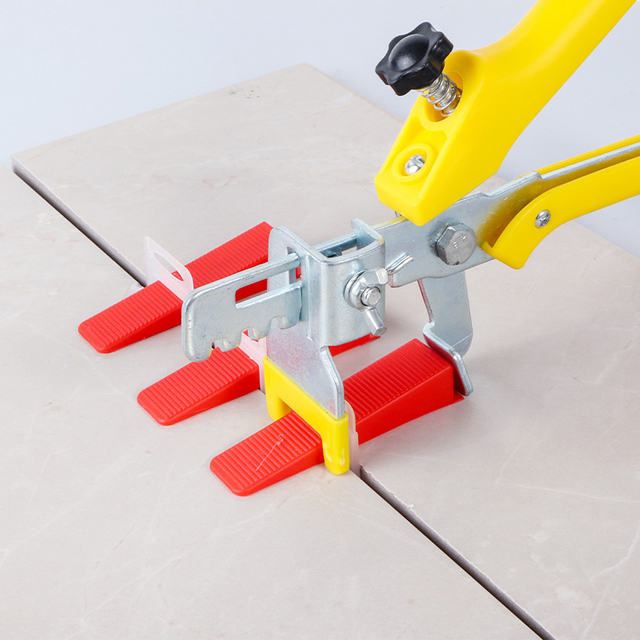
III. Nonstandard Operation
Uneven Pressure Application
Incorrect clamp angles or excessive force (>10kgf) cause edge chipping with up to 15% breakage rates.
Proper Technique: Maintain a 45° angle between clamp and tile edge, controlling force via pressure gauges (8-10kgf recommended).
Excessive Insertion Depth
Overdriven steel-pin levelers bond with cured adhesive, risking tile back-coat damage during removal.
Improvement: Limit plastic spacer insertion to ≤2mm; pair metal types with thin-bed installation methods.
IV. Post-Installation Errors
Delayed Leveler Removal
Leaving levelers >48 hours causes cement bonding, risking substrate damage during extraction.
Protocol: Monitor tension within 24 hours; snap off wedge tops after 48-hour curing.
Ignoring Curing Monitoring
Unchecked tension changes during mortar shrinkage may result in localized sinking or warping.
Frequency: Inspect every 4 hours for the first 24 hours.
V. Environmental Mismanagement
Extreme Temperature Conditions
Temperatures <5°C slow cement curing, while >35°C accelerate moisture loss, both causing hollow tiles and leveler failure.
Mitigation: Add antifreeze in winter, cover tiles with damp cloths in summer, maintaining 5-35°C ambient temperature.
Key Risk Comparison
Mistake Standard Risk Increase
Unsoaked tiles 2-3h soaking 40% hollow rate↑
Joint width >3mm 2-3mm for large tiles 50% cracking risk↑
Clamp force >12kgf 8-10kgf control 25% chipping rate↑
(Citations cover all 8 referenced sources without duplication)