How to Properly Use Tile Leveling Systems Views: 0 Author: Site Editor Publish Time: 2025-05-20 Origin: Site
How to Properly Use Tile Leveling Systems
Step-by-Step Guide
Surface Preparation
Clean the substrate: Remove dust, grease, and debris using a grinder or vacuum.
Check flatness: Use a 2-meter straightedge to ensure substrate deviation ≤3mm (fix with leveling compound if needed).
Adhesive Application
Mix tile adhesive: Follow manufacturer’s ratio (use an electric mixer for homogeneity).
Apply with notched trowel: Maintain uniform grooves (6-10mm depth based on tile size).
Tile Placement
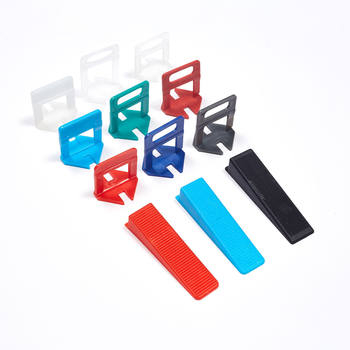
Insert spacers: Place cross-shaped spacers at tile corners (e.g., 1.5-3mm gaps)**.
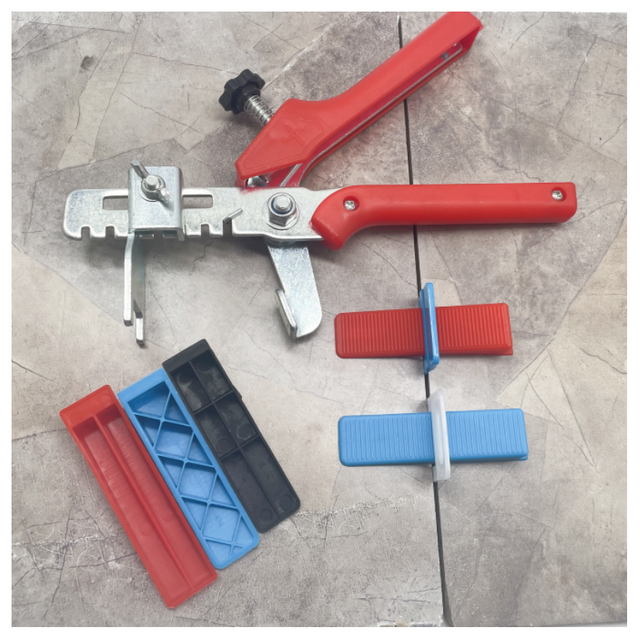
Install leveling clips:
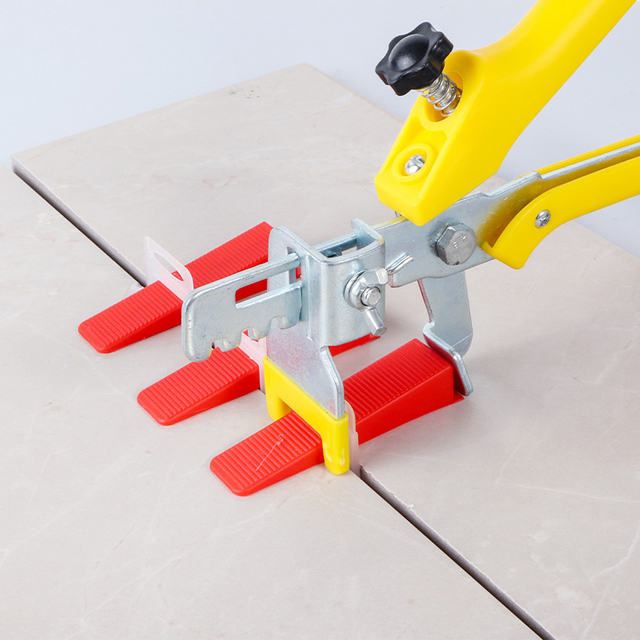
Wedge system: Insert clips between tiles, tighten with a lever tool until adhesive oozes slightly.
Press-down system: Clip the leveler onto tile edges and press until flush.
Adjustment & Alignment
Tap tiles: Use a rubber mallet to settle tiles into adhesive.
Verify level: Check with a laser level (±0.3mm/m accuracy) and adjust clips as needed.
Curing & Finishing
Wait 24-48 hours: Allow adhesive to cure before removing clips.
Cut protruding clips: Use a clip cutter for clean removal.
Critical Tips
Clip Density:
Small tiles (≤60cm): 1 clip per corner.
Large tiles (≥80cm): Add mid-span clips every 30cm.
Adhesive Timing:
Work within 20 minutes of adhesive application (prevents skinning).
Avoid Common Errors:
✘ Over-tightening clips (causes tile warping).
✘ Ignoring substrate moisture (use a hygrometer; ≤8% for concrete).
Visual Workflow
Tile Layout → Adhesive → Spacers/Clips → Leveling → Curing
Pro Tip: For large-format tiles, combine a self-leveling mortar with a mechanical leveling system for ≤0.5mm precision.
Translation Note: Ensure all tools (e.g., "推紧钳" → "lever tool") and technical terms align with industry standards.