Pro Tips for Mastering Your Tile Leveling System Views: 0 Author: Site Editor Publish Time: 2025-12-08 Origin: Site
Pro Tips for Mastering Your Tile Leveling System Prep Like a Pro
Strategic Placement
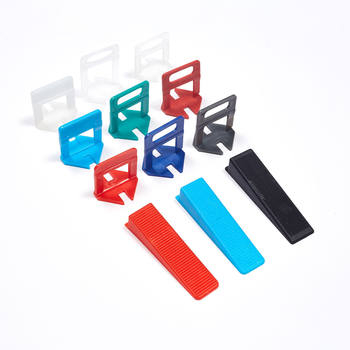
Install tile spacers every 2-3 tiles to maintain uniform gaps. For large formats, place them at all four corners.
For herringbone or diagonal patterns , use tile wedges at each intersection to prevent shifting.
Smart Adjustments
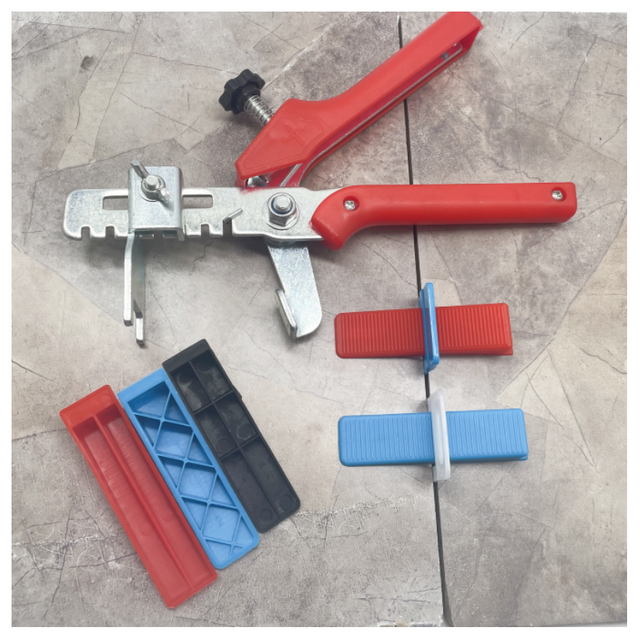
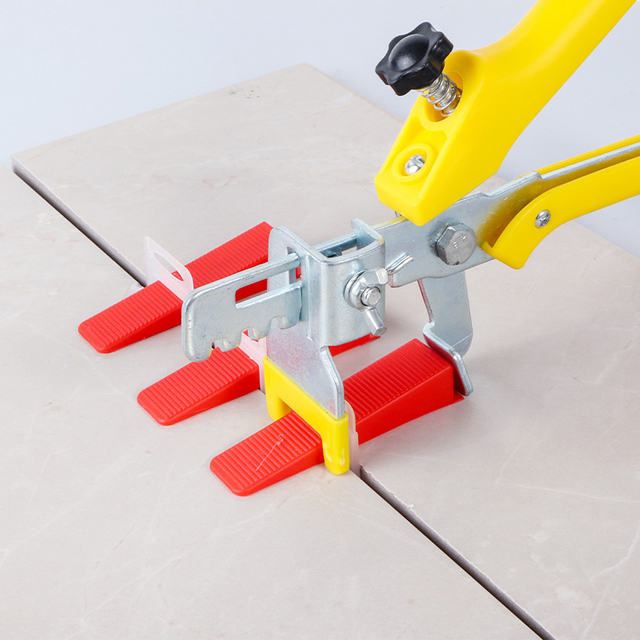
Tighten tile clips gradually with a tile plier to avoid cracking tiles. Start at the center and work outward.
If a tile sinks, remove it, add more adhesive, and re-level using tile leveler spacers .
Lippage Prevention
For thick tiles, stack tile leveling clips in pairs to distribute pressure evenly.
Check progress with a straightedge—adjust tile wedges until no gaps appear under the tool.
Efficient Removal
Troubleshooting
Problem: Tiles shift during curing.Fix: Use painter’s tape to temporarily secure tiles until adhesive sets.
Problem: Uneven edges.Fix: Place tile leveling clips closer together and use a rubber mallet to tap tiles into alignment.
Bonus: For outdoor projects, choose weather-resistant tile clips to withstand temperature changes.
These tips ensure your tile leveling system delivers pro-level results every time. Happy tiling!