Step-by-Step Tile Leveling System Installation Guide Views: 0 Author: Site Editor Publish Time: 2025-12-08 Origin: Site
Step-by-Step Tile Leveling System Installation Guide
Achieve perfectly level tiles with our professional tile leveling system . Follow these steps for flawless results:
Prepare the Surface
Lay the First Tile
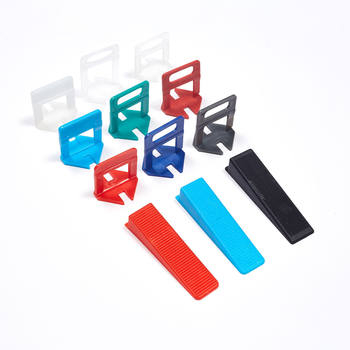
Insert Tile Spacers
Install Tile Leveling Clips
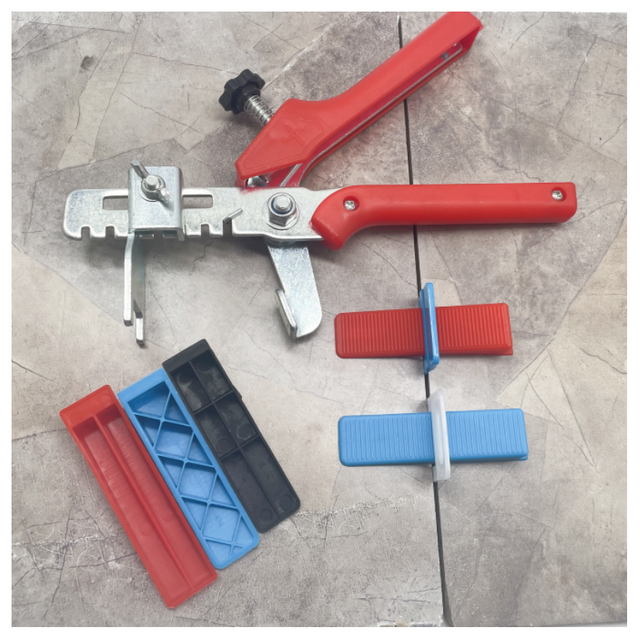
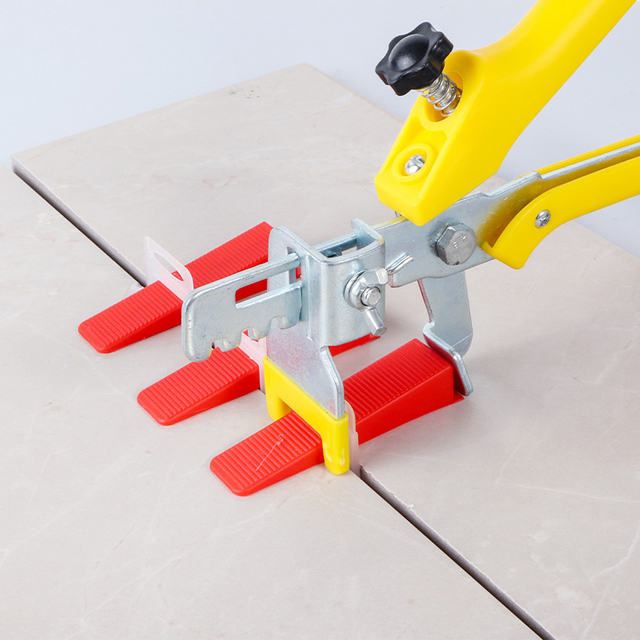
Position tile leveler clips at each tile corner. For tile wedges , insert them at intersections to prevent shifting.
Use a tile plier to tighten tile leveling clips gradually, ensuring tiles stay aligned without cracking.
Adjust for Leveling
Check alignment with a straightedge. If a tile sinks, remove it, add more adhesive, and re-secure with tile leveler spacers .
For herringbone patterns, use additional tile wedges at each point to maintain uniformity.
Secure and Wait
Final Check
Pro Tip : For outdoor areas, choose weather-resistant components to withstand temperature changes.