Techniques for Protecting Tile Edges from Damage Using Tile Leveling Systems Views: 0 Author: Site Editor Publish Time: 2025-05-20 Origin: Site
Techniques for Protecting Tile Edges from Damage Using Tile Leveling Systems
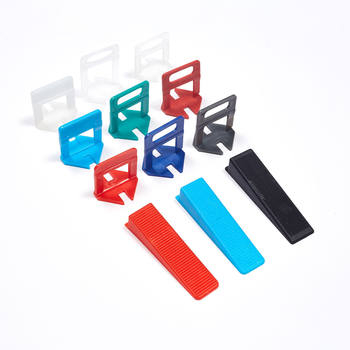
1. Select Damage-Resistant Tools
Choose Non-Steel-Nail Leveling Systems
Avoid using circular levelers with steel pins (which may scratch tile edges). Opt for nylon or aviation aluminum tools (thickness ≥1.2mm).
Match Clip Size to Tile Spacing
Standard tile gaps: 1.5–2mm; large-format tiles: 2–3mm. Oversized gaps expose edges to damage.
2. Standardize Installation Procedures
Pre-Soak High-Absorption Tiles
Soak tiles with water absorption >0.5% for 2–3 hours to prevent hollowing and edge stress.
Ensure Base Layer Flatness
Base layer flatness tolerance: ≤3mm/2m. Uneven surfaces cause uneven stress on edges.
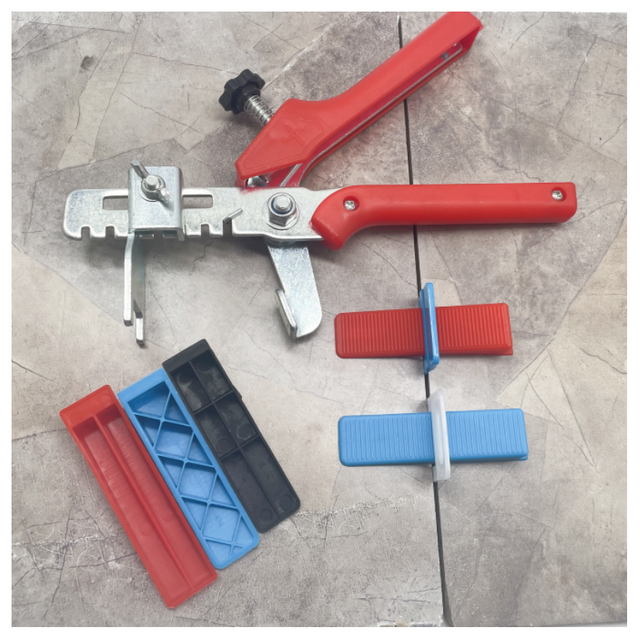
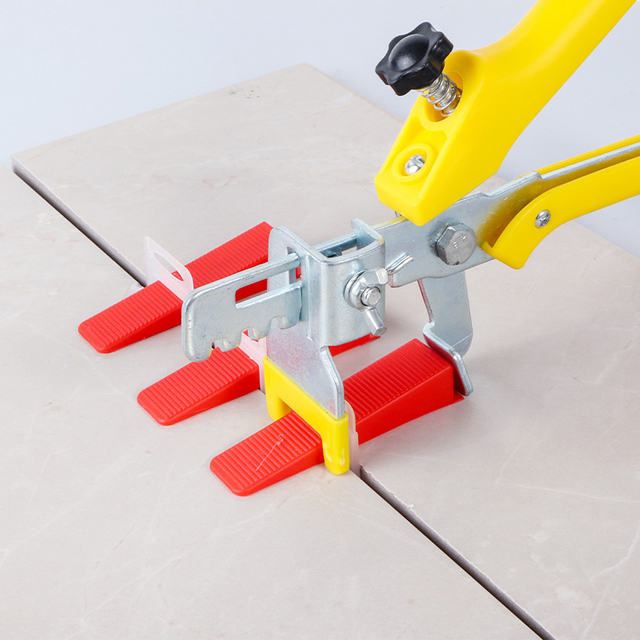
3. Precise Pressure Control
Adjust Clamp Angle and Pressure
Maintain a 45° angle between clamp and tile edges. Apply pressure at 8–10kgf to prevent chipping.
Level Adjacent Tiles Simultaneously
Adjust height differences to ≤0.5mm to avoid edge abrasion from staggered tiles.
4. Limit Insertion Depth
Control Tool Penetration
Plastic levelers: Insert ≤2mm into tile adhesive. Metal tools require thin-set mortar to avoid damaging tile backing.
5. Post-Installation Maintenance
Remove Tools Promptly
Use a wedge cutter to break off clips within 48 hours; avoid pulling to prevent edge fractures.
Monitor Tension Dynamics
Check clip status every 4 hours for 24 hours post-installation to rebalance localized stress.
Environmental Adaptations
Maintain ambient temperatures at 5–35°C. Add antifreeze in winter or cover tiles with damp cloths in summer to minimize thermal expansion damage.
Key Risk Mitigation Comparison
Incorrect Practice Correct Practice Edge Protection Improvement
Steel-pin levelers Nylon clip systems Scratch risk ↓80%
Clamp pressure >10kgf Controlled 8–10kgf pressure Chip rate ↓75%
Insertion depth >3mm Thin-set + 2mm depth limit Backing damage ↓90%
Maintain formatting consistency and technical precision for professional use.